
In today’s content-driven world, having a high-quality, soundproof home studio is no longer a luxury reserved for professionals. Whether you’re a musician, podcaster, or video content creator, a dedicated studio can elevate your craft. Designing such a space requires a thoughtful approach that balances soundproofing, functionality, and aesthetics.
At David Reno, we specialize in home renovations across Toronto and the GTA, including Markham, Mississauga, Scarborough, North York, and Vaughan. We help homeowners transform their visions into functional and stylish spaces. In this guide, we’ll dive deep into creating a soundproof home studio, offering expert tips and inspiration for your home remodeling project.
Table of Contents
- Introduction
- Choosing the Right Space for Your Home Studio
- Understanding Soundproofing Basics
- Materials for Soundproofing
- Acoustic Panels
- Soundproof Drywall
- Floor Underlayments
- Designing for Sound Isolation
- Sealing Doors and Windows
- Adding Mass and Density
- Decoupling Structures
- Optimizing Acoustic Treatment
- Diffusion and Absorption
- Managing Reflections and Echoes
- Ceiling and Wall Treatment
- Electrical and Lighting Considerations
- Minimizing Electrical Noise
- Choosing the Right Lighting
- Customizing the Layout for Functionality
- Zoning Your Studio
- Ergonomic Furniture Placement
- Incorporating Technology and Smart Solutions
- Adding Value with a Home Extension
- Working with a Trusted Toronto Contractor
- Getting Started
1. Introduction
Designing a soundproof home studio requires a strategic approach to block external noise, manage internal acoustics, and create an inspiring workspace. Whether you’re recording vocals, producing music, or hosting a podcast, the right studio design will help you achieve professional-grade results from the comfort of your home.
2. Choosing the Right Space for Your Home Studio
Evaluate Your Space
The first step is selecting a suitable location for your studio. Factors to consider:
- Size: Ensure the space is large enough to accommodate your equipment and any collaborators.
- Isolation: Choose a room away from high-traffic areas to minimize disturbances.
- Flexibility: Rooms like basements or garages are ideal for their natural separation from the main living areas.
If your home lacks a suitable room, a home addition or interior renovation can create the perfect environment for your studio.
3. Understanding Soundproofing Basics
Soundproofing involves two key elements:
- Blocking External Noise: Preventing sound from entering the studio.
- Containing Internal Sound: Keeping your audio work from disturbing the rest of the household.
Achieving effective soundproofing requires strategic planning and the right materials.
4. Materials for Soundproofing
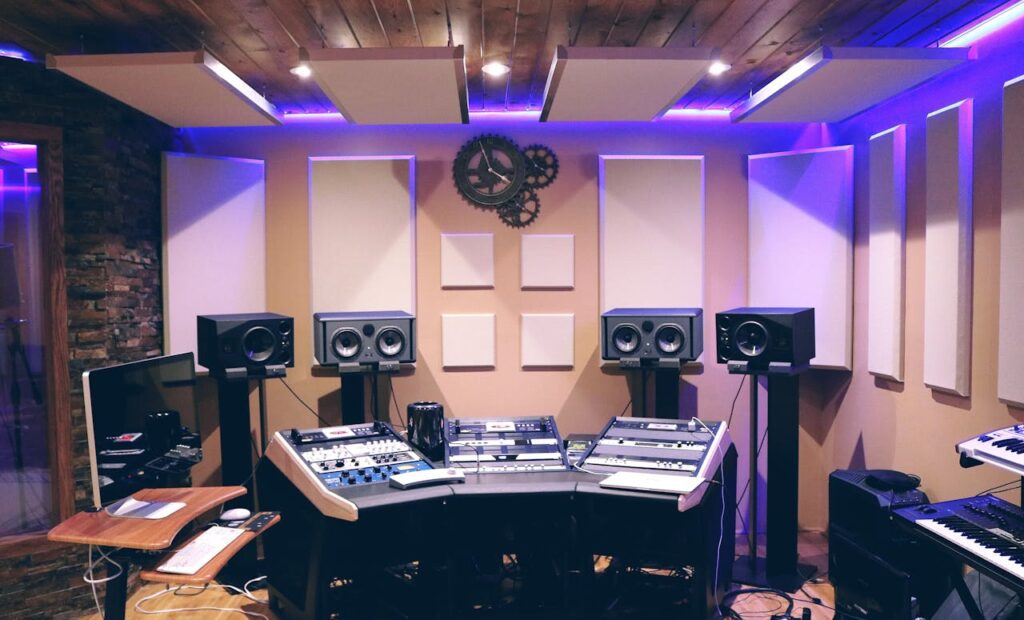
Acoustic Panels
Acoustic panels absorb sound waves, reducing echo and improving sound quality. They are:
- Available in various designs and colors to suit your aesthetic.
- Ideal for walls and ceilings.
Soundproof Drywall
Soundproof drywall, such as QuietRock, adds mass and absorbs sound vibrations. It’s an essential component for:
- Walls separating the studio from other rooms.
- Ceilings, especially if your studio is on an upper floor.
Floor Underlayments
Sound can travel through floors, especially in multi-level homes. Add underlayments made from rubber or cork beneath your flooring to reduce noise transmission.
5. Designing for Sound Isolation

Sound isolation ensures that no external noise enters the studio and no internal noise escapes.
Sealing Doors and Windows
- Use solid-core doors for better sound insulation.
- Install weatherstripping around door frames to seal gaps.
- Replace standard windows with double-pane or laminated glass.
Adding Mass and Density
- Use mass-loaded vinyl (MLV) on walls and ceilings to dampen sound vibrations.
- Incorporate heavy drapes or blackout curtains to cover windows.
Decoupling Structures
Decoupling separates walls, floors, or ceilings to prevent sound vibrations from traveling. Techniques include:
- Resilient channels between drywall and studs.
- Floating floors with a gap between the subfloor and the studio floor.
6. Optimizing Acoustic Treatment

Acoustic treatment focuses on improving sound quality within the studio.
Diffusion and Absorption
- Use diffusers to scatter sound waves evenly, preventing hotspots.
- Install foam or fabric panels to absorb unwanted reflections.
Managing Reflections and Echoes
Strategically place panels on reflective surfaces such as:
- Opposite walls.
- The ceiling directly above the recording area.
Ceiling and Wall Treatment
- Use cloud panels suspended from the ceiling to minimize overhead echoes.
- Cover walls with perforated wood or fabric-wrapped panels for added absorption.
7. Electrical and Lighting Considerations

A home studio requires specialized electrical and lighting setups to avoid interference with sound recording.
Minimizing Electrical Noise
- Install dedicated circuits for your studio equipment.
- Use power conditioners to stabilize voltage and reduce interference.
Choosing the Right Lighting
- Opt for LED lights, which are quiet and energy-efficient.
- Avoid fluorescent lighting, as it can produce a hum audible in recordings.
8. Customizing the Layout for Functionality

The layout of your studio should support workflow and comfort.
Zoning Your Studio
Divide your space into zones:
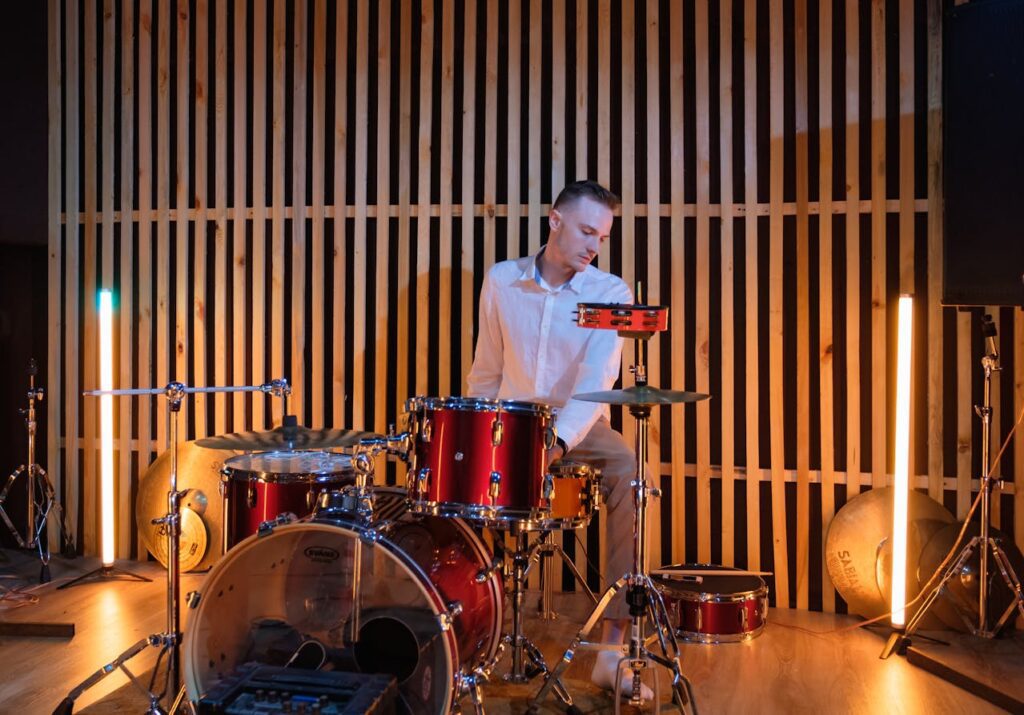
- Recording Area: A sound-isolated booth or open space for instruments and vocals.
- Control Room: Dedicated for mixing and editing audio.
- Storage: Shelving or cabinets for equipment and accessories.
Ergonomic Furniture Placement
- Use a height-adjustable desk for your computer and mixing console.
- Choose a comfortable chair with lumbar support for long sessions.
9. Incorporating Technology and Smart Solutions

Leverage smart technology to enhance your studio’s capabilities:
- Sound calibration apps to fine-tune acoustics.
- Wireless audio systems for flexibility.
- Smart lighting controls for adjustable ambiance.
10. Adding Value with a Home Extension
If space is a limitation, a home addition can provide the extra square footage needed for your studio. Popular options include:
- Basement renovations for naturally quieter spaces.
- Garage conversions for standalone studios.
- Loft extensions for private and elevated workspaces.
A well-designed studio can also boost your home’s market value, especially in sought-after areas like Markham or Mississauga.
11. Working with a Trusted Toronto Contractor
Creating a soundproof home studio is a complex project that requires expertise. At David Reno, we specialize in:
- Interior renovations tailored to your specific needs.
- Home remodeling to transform existing spaces into functional studios.
- Home extensions for custom-built studios.
We serve clients in Toronto and the GTA, including Scarborough, North York, Markham, Mississauga, and Vaughan.
12. Getting Started

A well-designed, soundproof home studio is a game-changer for music, podcasting, and content creation. By investing in high-quality materials, strategic soundproofing, and expert craftsmanship, you can create a professional-grade workspace that inspires creativity and supports your goals.
At David Reno, we bring your vision to life with custom home renovations that balance functionality and style. Whether you need a simple remodel or a full home addition, we’re here to help.
Ready to design your dream home studio? Contact David Reno today for a consultation. Let us help you transform your space into a soundproof haven for creativity!